005 Getting to the Bottom.
Great Loop Prologue Jun 3, 2016
Getting the bottom ready
For the months of April and May 2016, I have been working on getting this ole girl ready for the big show. And there was plenty to do. Now, some of this may be a bit technical so bear with me. Somebody out there just might be asking me a question I can just as well answer here. I'll make this as painless as possible and explain it so you can understand.
Most of the time the Sea Marie will be in ocean water and ocean water is salty. In all my sailing life, I, as has the Sea Marie been on the Great Lakes and we are a fresh body of water. No sharks, no giant squids, no whales, and thankfully no barnacles. Not that long ago I got to visit a friend of mine, Dave Rolandelli, and his lovely wife Kathleen who lives in Los Angeles, California on the west coast and invited me to go sailing on his sailboat. But first, Dave had to put on his diving suit and hood, strap his air tanks on just to go down, and with a scraper in his gloved hand scrape off the barnacles that attached themselves to the bottom of the hull. If any of those barnacle pieces find their way between you and your wetsuit, your skin’s pain receptors will make you acutely aware. They can get so thick on a hull that it actually slows down the forward momentum of your boat. Like riding your car with 4 flat tires. You can imagine what your gas mileage would be like.
There are ways to prevent the barnacles and other marine life from becoming a nuisance on your hull. Special marine paints have been formulated to inhibit that nasty marine growth. Freshwater boats also need to be protected, but from zebra mussels, algae, and slime that grow on our hull. The Sea Marie had a couple of good coats used on freshwater hulls. That had to come off and prepared for a new coat of bottom paint to protect against the salty environment.
And so with a hand sander, I started to take off all the old bottom paint down to the base layer of the original gel coat. Years ago when Sea Marie was still a youngster I coated the bottom gel coat with a product called VC Tar. Upon which a coating of VC 17 was applied and that kept me free of algae and mussels during the summer months. Yearly applications of VC-17 and later FW-21 from West Marine were a necessary springtime chore.
Someone pointed out to me I shouldn't be breathing in the dust so I needed a new outfit to wear. Wise decision.
Slowly, oh so painfully slow I sanded off inch by inch the surface down to the original gel coat. And being on a trailer in my back yard I had to crawl on my back to get to most of it. I got as much as I could but that wasn't enough.
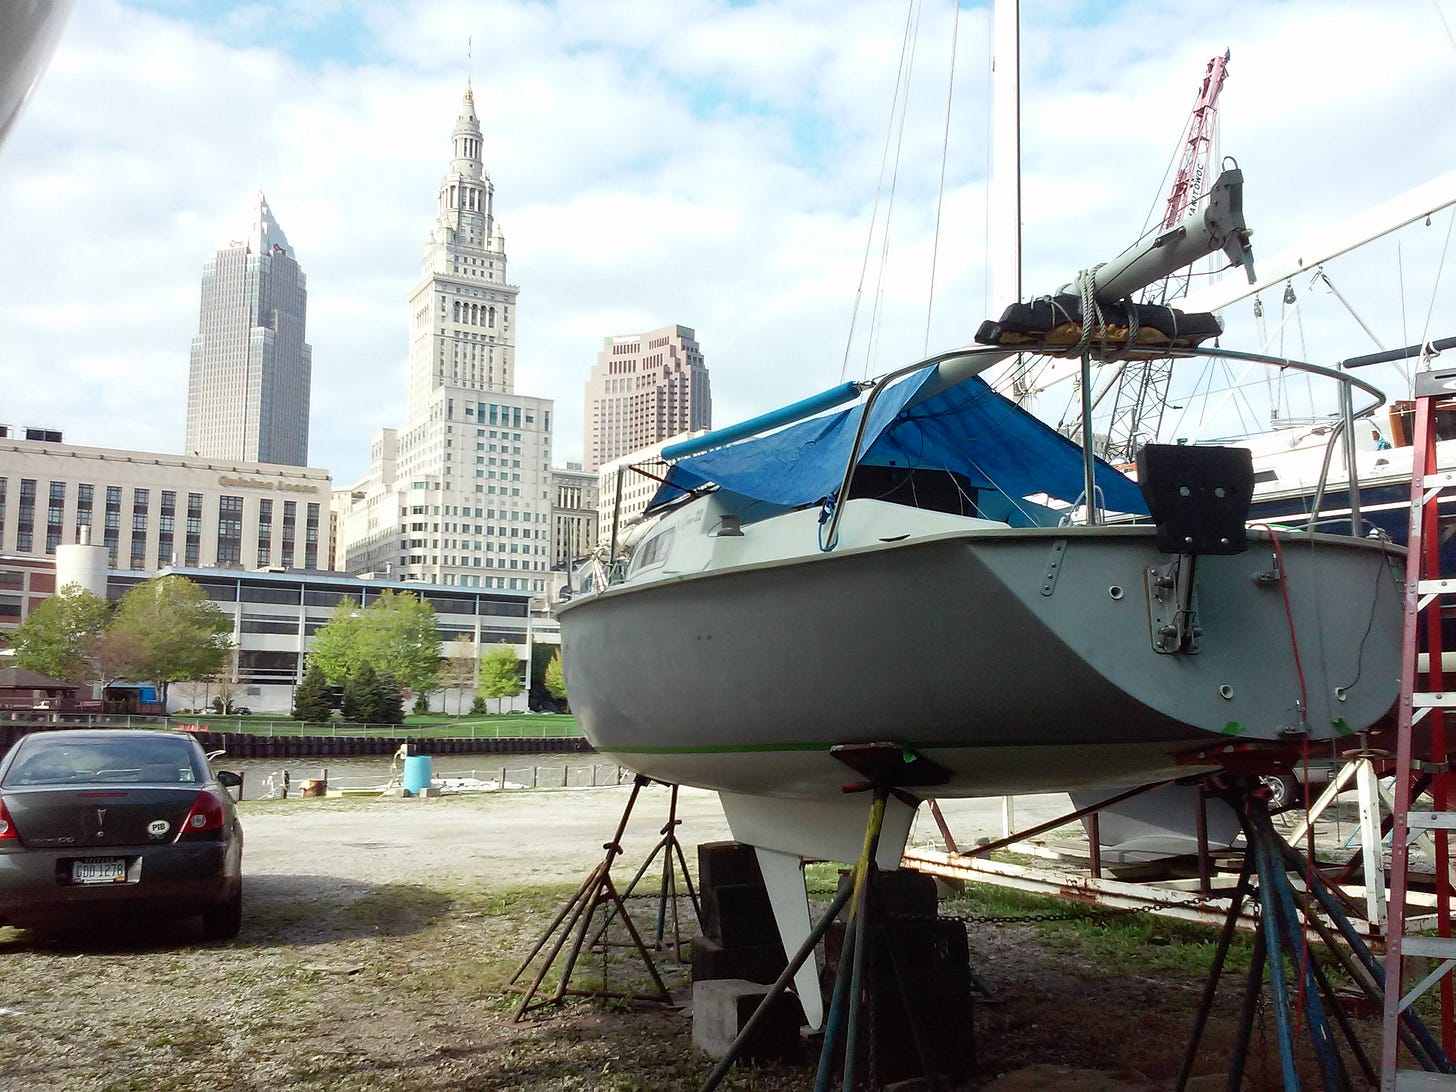
The pads on the trailer the boat was resting on needed to be moved to get that part sanded and that required a call to a local boatyard. The boat had to be lifted and placed on jack stands so I can sand the parts I couldn’t get to.
The boatyard I called, Riverfront Yacht and Sales on the west shore of the Cuyahoga River was more than willing and able to take her off the trailer, put her on jack stands, and for me to complete the job. I thought 2 weeks would be a reasonable amount of time if the weather stays nice. It didn’t. It was more like 3 weeks when I got done.
This was a significant moment. On our way to the boatyard, we took a route that passed my late wife, Colleen's childhood home. There, that second house on the left, corner of Wiley and Scranton in Tremont.
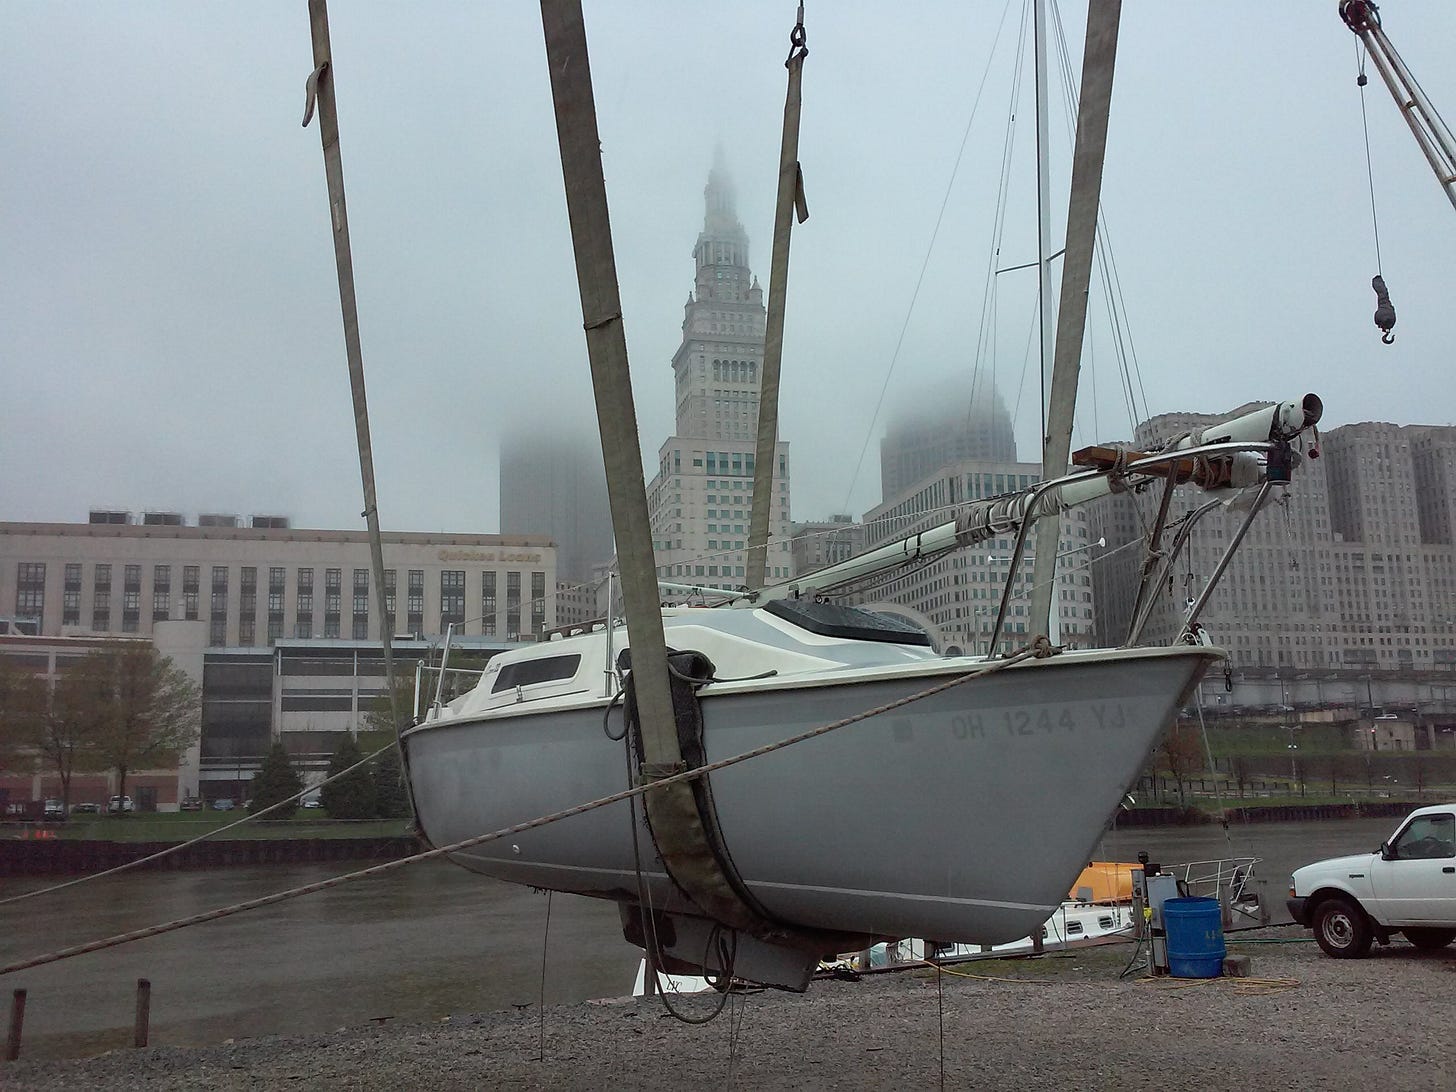
In the shadow of the Cleveland Skyline, the Sea Marie was gently wheeled in place to be lifted and set on jack stands for me to finish the job.
Sailing on air!
Here you can see the centerboard as it is lowered. I replaced the line that raised and lowered the centerboard. There are 600 pounds of lead embedded in fiberglass in the shoal keel. That allows the centerboard to be light enough to be easily raised and lowered by hand. No winch mechanism like on the old Catalinas. The designer, Jim Taylor was ahead of his time.
Off with the old but not quite ready to go on with the new. There is another step I needed to complete before the bottom paint goes on. That is 4 complete coats of a barrier coat. A quick check on Google you will run across this statement: "A barrier coat seals a fiberglass hull, blocking water entry and inhibiting blister formation in underwater gel coat and fiberglass. If your boat has a fiberglass hull, you MUST protect it with a barrier coat beneath your bottom paint." I had no idea if the original owners had done this step but I didn't want to take any unreasonable risk.
Born from fiberglass molds in 1984, The Sea Marie is 32 years old in 2016 and she is getting up in age. Having her hull in water and saltwater for nearly a year absolutely scares me. A 2 part epoxy barrier coat is the best insurance I can give this old girl knowing she will be sitting on top of the water and not looking at the sunsets from below the surf. And here is a trick an old-timer told me. Get 2 gallons of barrier coat but get one in gray and the other in white. Coat your bottom in one color and for the next coat use the other color. This method will show you where you missed the spots. I had just enough to do 2 coats from each gallon and didn't miss a spot.
Well, that took over a couple of weeks. The weather in April turned really sour and the temperature dropped below the recommended temp to use the barrier coat. Took a while for the weather to warm up to finish the job. Don't forget to save enough paint and hardener to go over where the jack stand pads were up against the boat hull. That is 4 more coats and the brush is unusable after it hardens. Sure did go through a bunch of brushes.
The barrier coat job was finally done and the application of the actual bottom paint can begin.
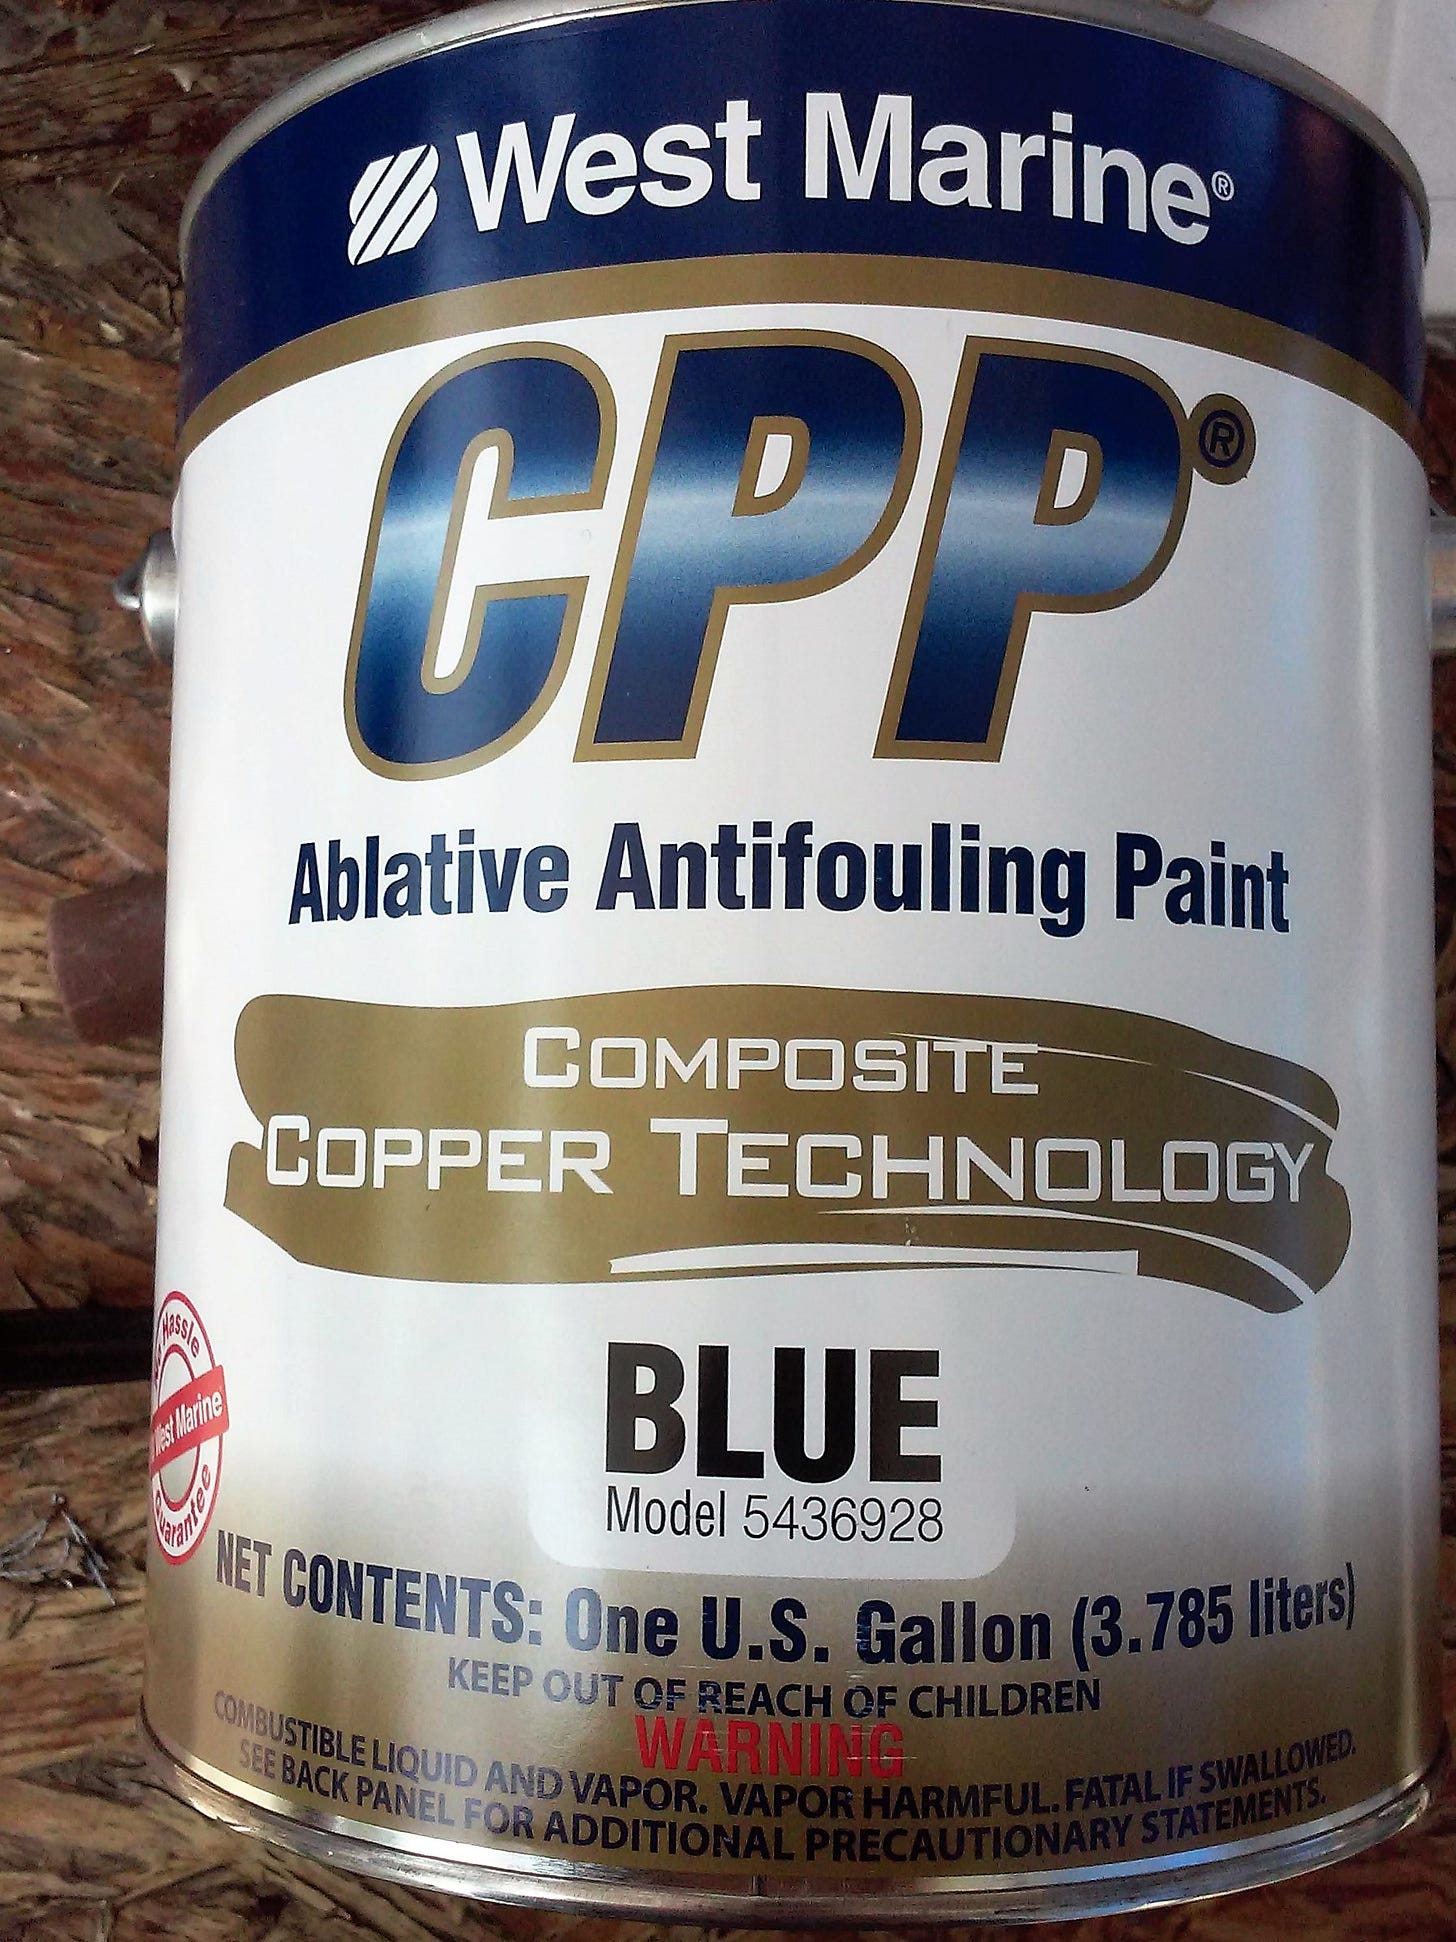
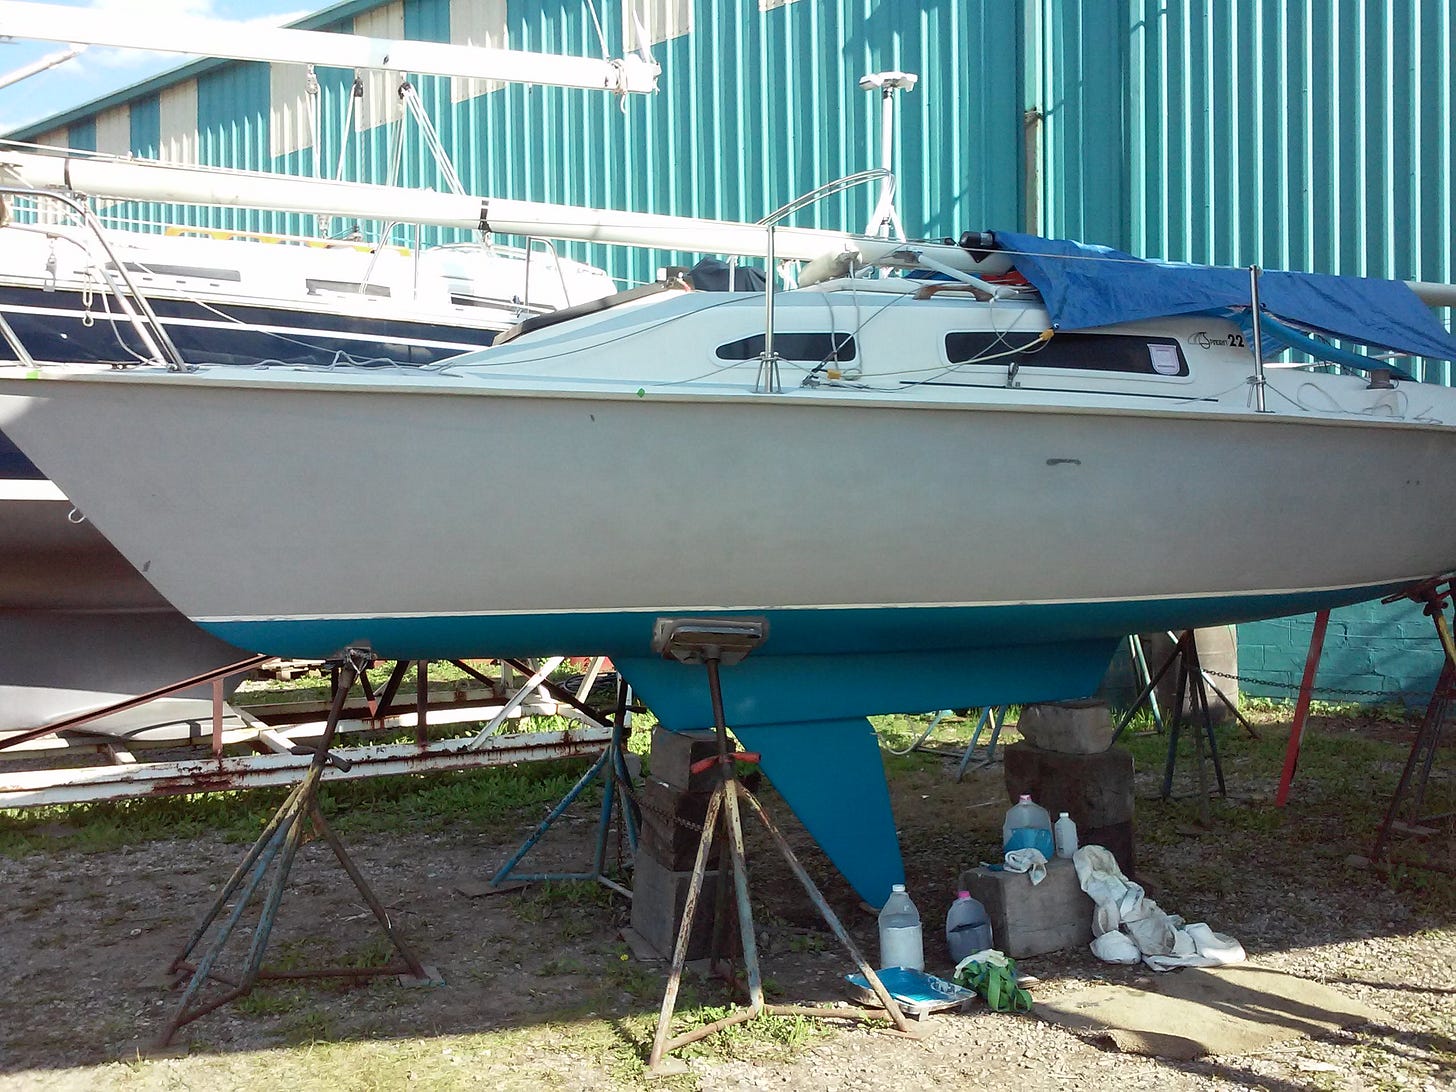
The paint recommended by the people at West Marine was called West Marine CPP Ablative Antifouling Paint with CCT. Comes in gallon size only and I only needed 1 gallon to get 2 good coats on. Now I had to decide where to put that vinyl water stripe on the hull. The previous stripe was painted and I thought taking this shortcut using vinyl tape would be faster. It was but to jump ahead a bit it didn't adhere very well and in a few weeks had fallen off the hull. I also decided to raise the water line a few inches as I would be heavily loaded and riding lower in the water. A miscalculation you will hear about later.
I taped off the imaginary line a couple of inches above the existing waterline on the hull, trying to keep it straight on a curved surface using the previous line as a guide. It wasn't easy but it provided ample time to practice swearing like a seaman. This will be a guide in future years as to where the bottom paint stops.
The days of the boatyard for the Sea Marie were done. Time to bring her home and get assaulted by me on her cabin, deck, and cockpit.
But first, one more detail to do. I replaced the line that raised and lowered the centerboard. To everyone’s surprise, the line was held in place by a single overhand knot.
With a hand stitcher, I sewed a splice in the nylon line that will hold up for the rest of her life.
Paid my bill for the use of the lift and jack stands, they gently loaded her on her trailer and we all came home without incident.
Next installment I will take you through the work on the topside.
Thank you for subscribing to my Sailing Saga of the Sea Marie. One of the pleasures of being on a list like this is the ability to stay engaged with the readers. Comments are highly encouraged. Did you find this post interesting? Would you do this if someone asked you to come along? Did you find something that didn't make sense? Did you or do you know someone that has done a long journey like this?


