The next 2 posts will finish up getting the Sea Marie ready. Once we get this housekeeping chore done we’ll start getting to the fun stuff.
The Sea Marie and I had a mutual understanding. Probably why we got along so well. One of the most important promises I made to her was I will take care of you but in return, you must promise to take care of me. She was my girl and I always treated her with the respect and dignity she deserved. She was the best friend any sailor could ever hope for. A living, breathing companion whose only goal was to make me happy. We got a long voyage ahead of us so let’s show them what we are made of.
Did the window leak?
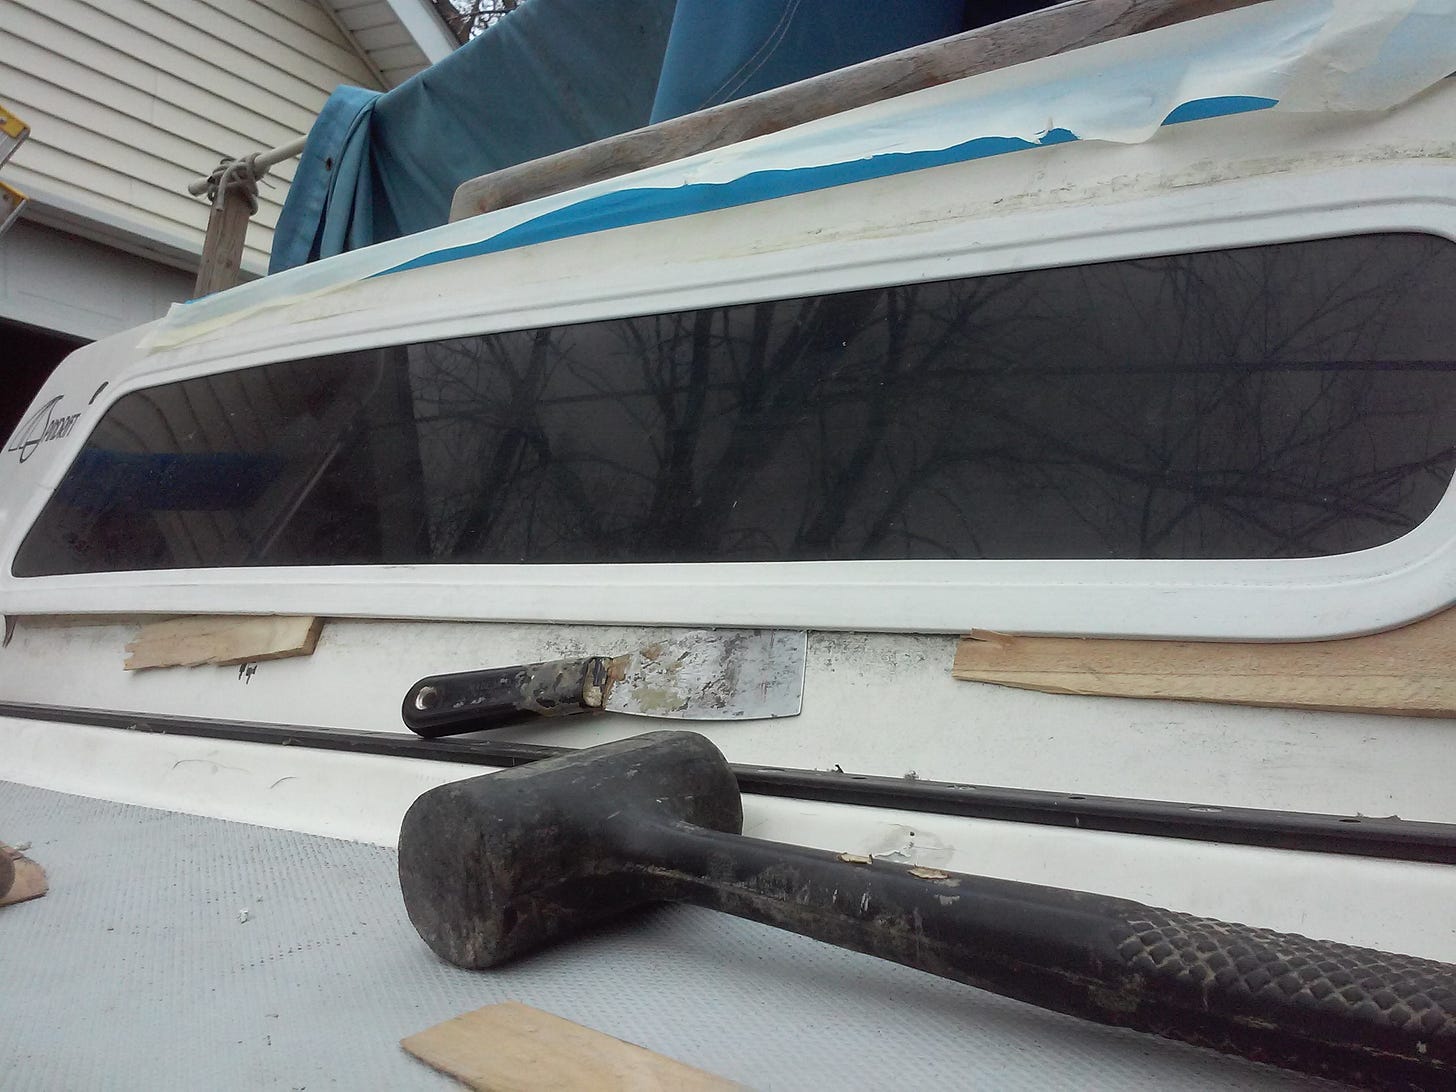
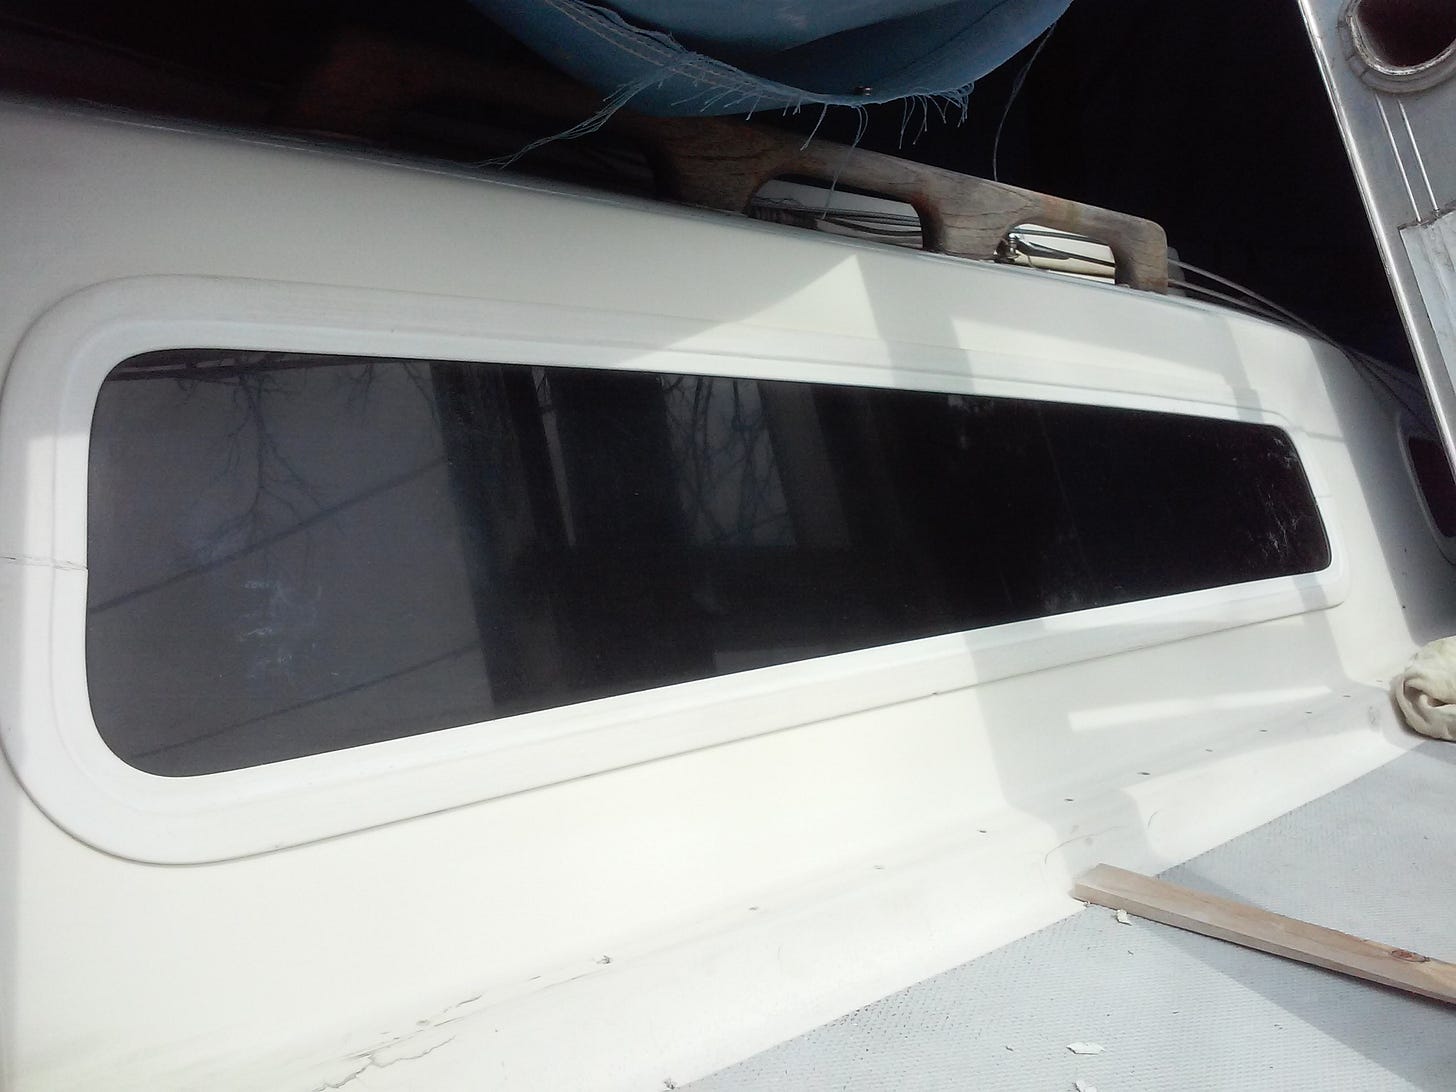
It was important to find all the water leaks and get them fixed. The only water I want to see is under the hull and in my coffee and tea. I had noticed on very few rainy occasions a small drip under the starboard window. It was time to take the window and inspect the caulking and re-bed the window using new caulk. Taking that window out was no easy task. She was well sealed in the fiberglass cabin wall. Removing the window frame without cracking the window plexiglass was a slow and methodical process. Breaking the caulking seal with a scraper and using wooden wedges she finally released her grip and the window slid out. There were no obvious pockets or air bubbles that could have been left behind in the original construction.
My overall conclusion was the window didn't leak. So where did the drops of water materialize? The evidence was pointing to condensation. Most of the dripping happened during rain storms. Here is what I think happens. The rain cools down the fiberglass cabin including the windows. We know warm air can hold lots of moisture as water vapor. When this warm moist air comes in contact with the cooler cabin walls and windows it condenses. Goes from a gaseous state to a liquid state. Just as it happens to your ice-cold glass of lemonade on the outside of the glass or can on a hot day.
Solution? Like in your car you turn on your blower. In the Sea Marie, I’ll just turn on the fans. Your grandmother will surely tell you clothes dry faster on a warm windy day than on a day with no wind. As in your clothes dryer, warm air is circulated and expelled out the vent taking with it the moisture from the wet clothes. Keeping that air moving will reduce the ability of water vapor to stick and pool around the window frames and drip on your head.
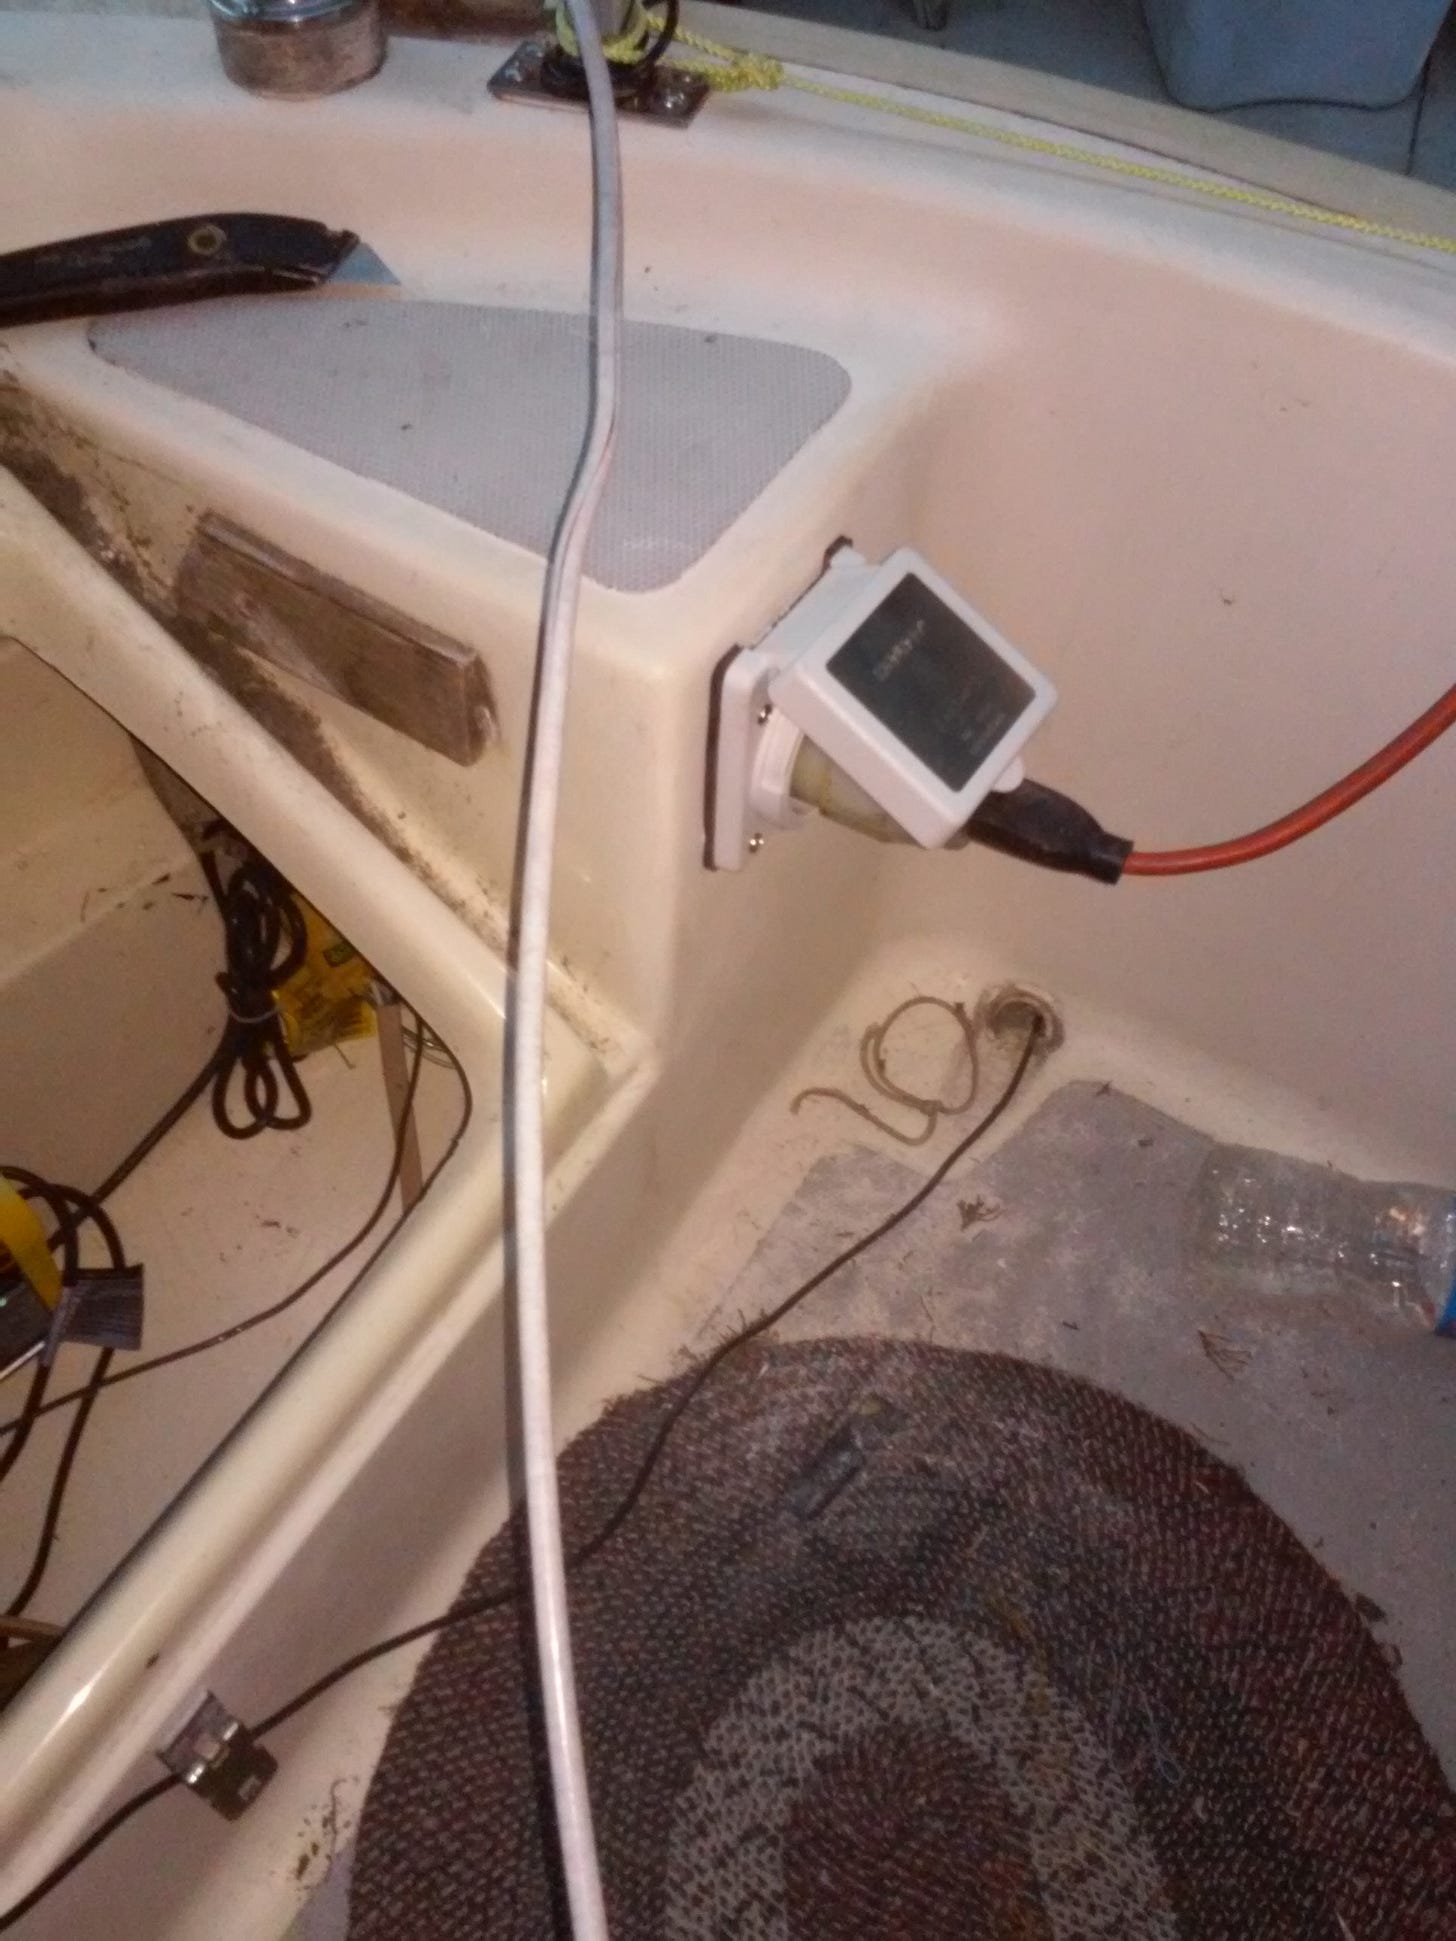
With the starboard window replaced and the other windows closely inspected, we move on to the cockpit and replace the power cable receptacle. Several years earlier I installed AC wiring and outlets in the cabin just like you have in your house. The receptacle I used was a simple 15 amp plug that an ordinary 3-wire extension cord could plug into. My needs were much simpler then but now with thoughts of running a microwave, a ceramic heater, some fans, and an electric hot water pot along with a higher amperage battery charger, I need to go up to the 30 amp class. This will allow the larger and heavier yellow marine shore cable to connect to higher power pedestals on the dock at most marinas. On bigger boats, they may use 50 amp cable connectors to run several air conditioners and other electronics. The 50 amp connector is a different shape but fortunately, there are splitters and converters available to match the 50 amp shore power connector to the 30 amp cord. Many marinas will lend them to transients like us but others will charge a fee.
A simple replacement and enlargement of the hole allowed a 30 amp socket connector to fit in the existing space, The interior wiring was marine grade and sufficient to carry the current load to all my electrical units in the cabin.
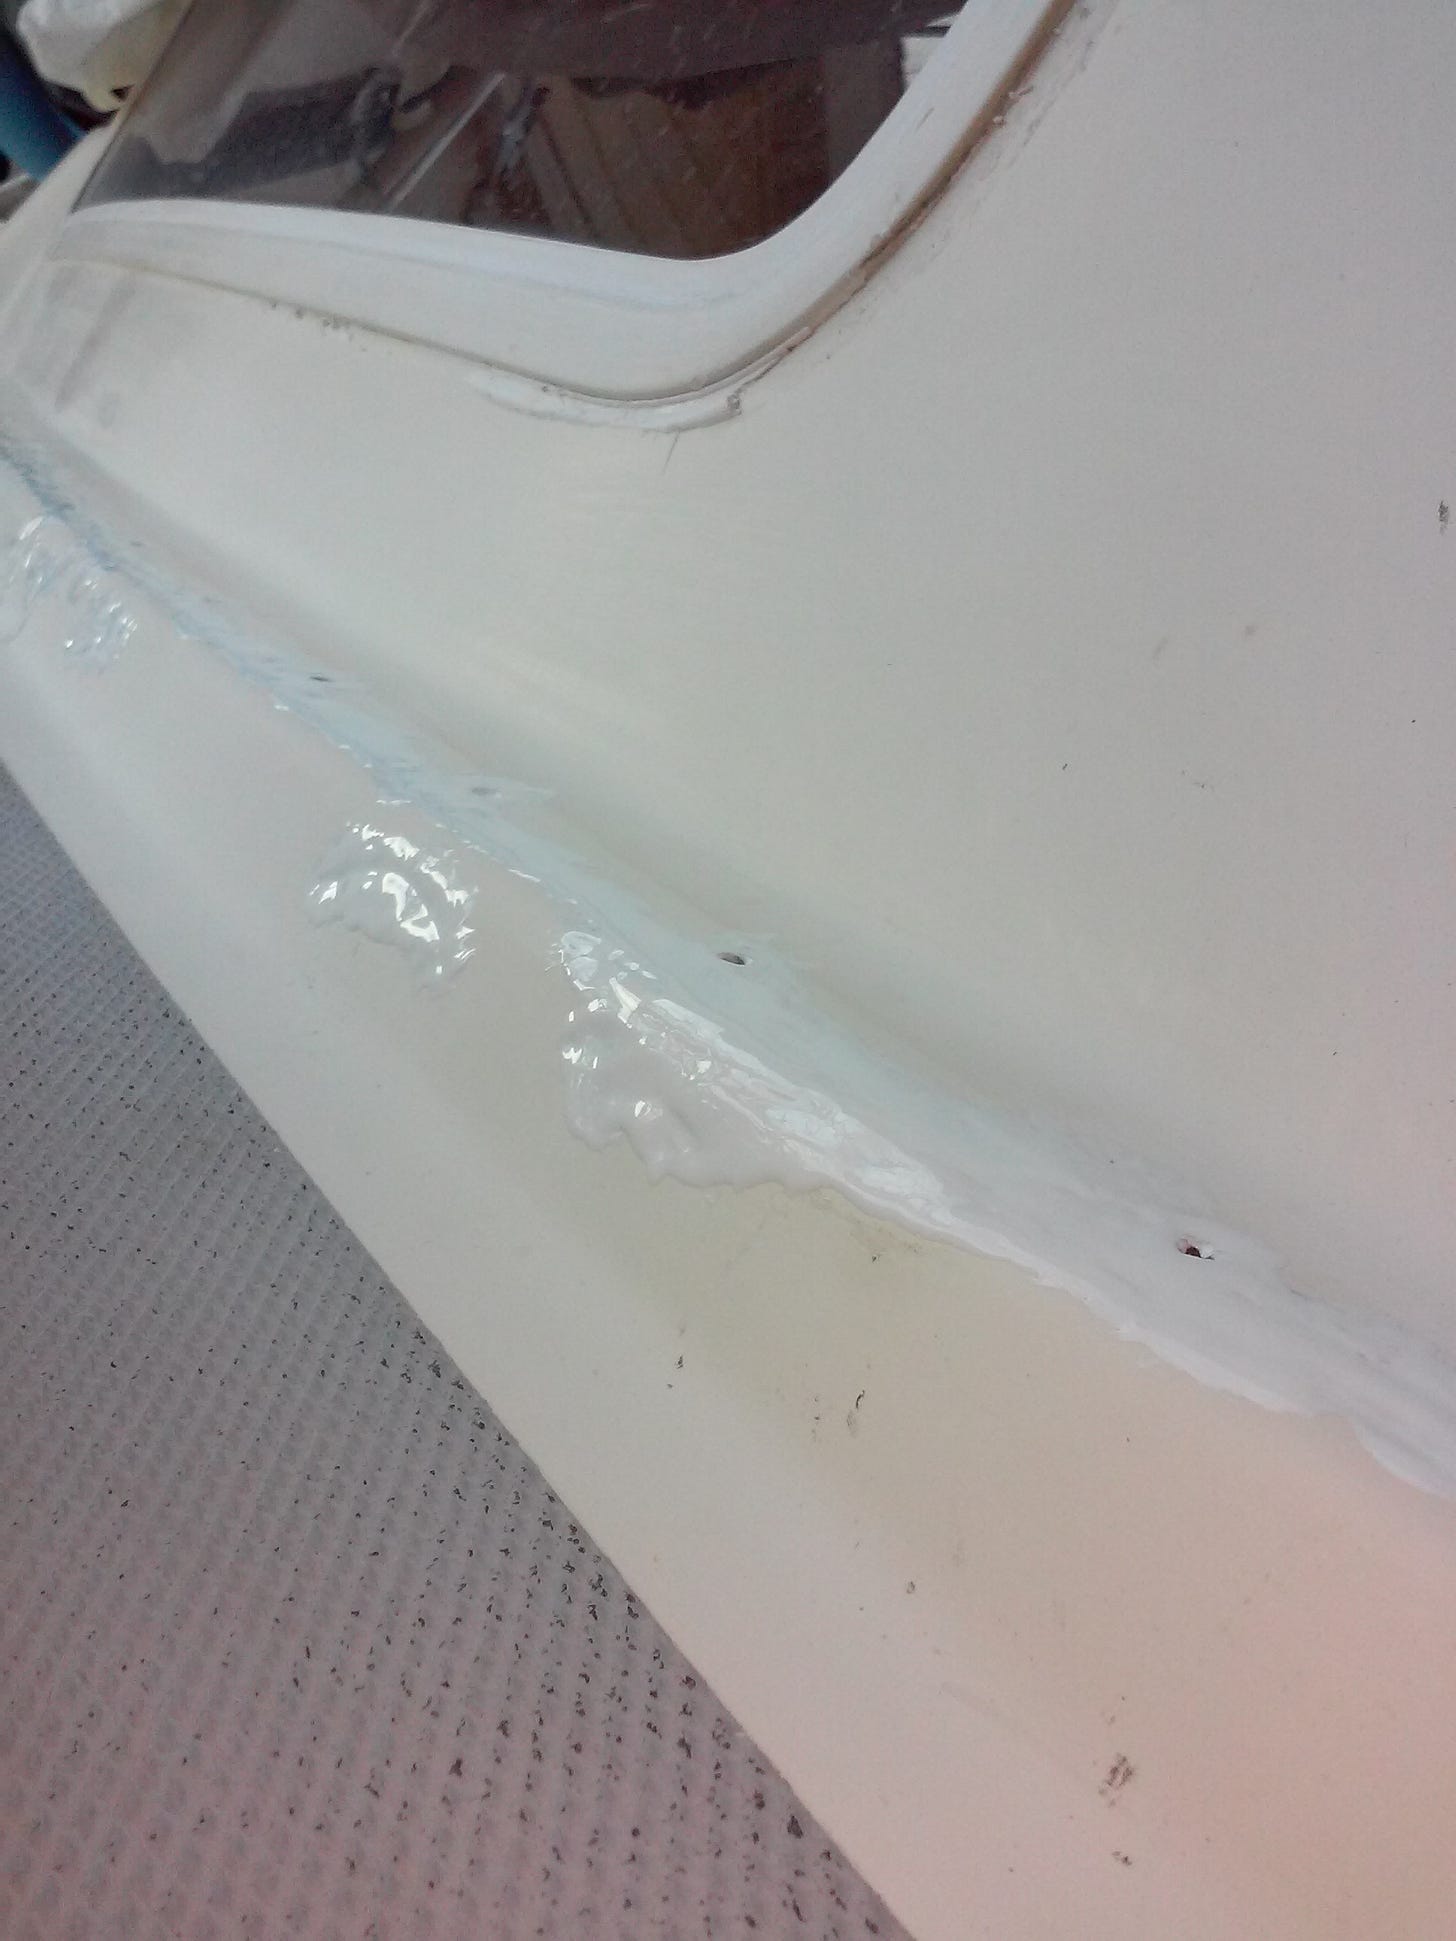
With the electrical outlet converted my attention turned to the deck again and fill in the small stress cracks along the rail that held the jib cars on both sides. It was most noticeable on the starboard side and tackled that. The port side didn't need the attention. A small Dremel tool and 2 part fiberglass gel coat filler did the job.
While working on the deck I decided to re-bed the stanchion bases. Stanchions are not designed to be used in place of deck cleats and that is one way to determine if a yachtsman is a newbie. Never tie off a boat to the stanchion base. You can tie light items like fenders and tarp tie-downs. The bolts holding down the bases were only half-inch long and Jim Taylor designed it so there were no bolt-thru with nuts and backing plates to the roof of the cabin. He had the fabricators put in a threaded plate directly in the fiberglass of the deck. Not as strong but definitely more waterproof.
The stanchion bases were re-bedded with butyl tape. It’s a putty material that will not harden with age. Very good material to use on stanchion bases where water egress would be a problem.
Some of the small spider cracks that were under the base were cleaned and filled.
Also on the list were more pesky spider cracks along the rub rail.
Entry points for damaging water to collect and cause havoc below with my electronics.
All cracks were scraped clean and filled.
Next is the hull painting on the Sailing Saga of the Sea Marie in part 2 of 2


